
The original plan was to have these on their own page on the website, but unfortunately that didn't work out as planned (as sometimes that happens!) But I promised step-by-step instructions, and HERE ya go!
Step 1: Slice your zucchini into rounds
for individual servings, into strips for a full-family sized pan.
 |
| I used a mandolin to do this. If you don't have one, use the slicer attachment on your food processor or a knife to slice it. As long as it's not super thick, the thickness isn't really that big a deal. |
Step 2: Brown your sausage

 |
| I could eat my weight in this stuff ... |
Step 3: Shred your cheese
 |
| Whatever your favorite cheese is - here I have mozzarella and Parmesan! |
Step 4: Construct your ricotta
filling:
1 C ricotta cheese, 1 egg, a few leaves of basil, torn, ¼
C mozerella, ¼ C parmesan, some minced garlic, salt and pepper to taste
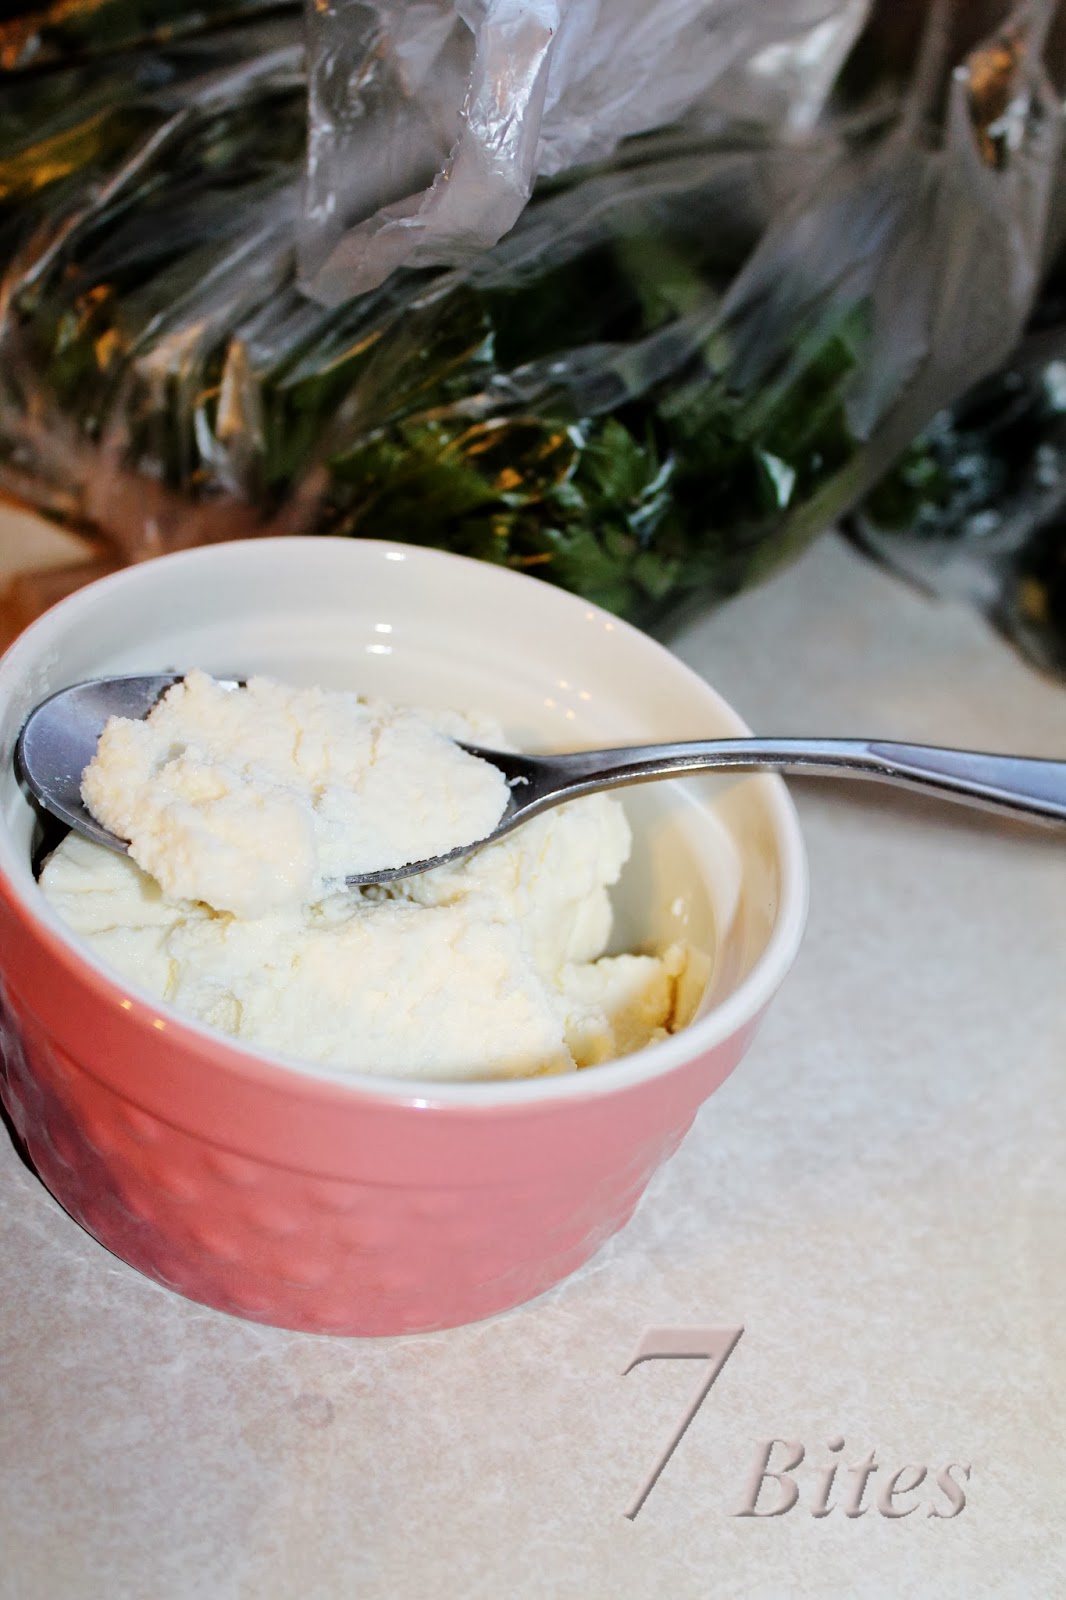


Then put it into a bowl that actually fits the amount of ingredients you're using ...

Step 5: Find your pasta sauce
 |
| We used a good tomato basil sauce. Nom nom nom ... |
Step 6: Prepare an individual sized
ramekin with cooking spray, butter, or coconut oil
 |
| Aren't these the cutest?? |
Step 7: Put a couple of tablespoons of
sauce into bottom of ramekin

Step 8: Lay a few slices of zucchini on
top of sauce

Step 9: Spread a tablespoon or two of
ricotta mixture on top of the zucchini

Step 10: Sprinkle with a tablespoon of
sausage

Step 11: Sprinkle with some shredded
cheese
Then stop and have a snack ...
 |
| I just stuck some sauce, sausage and cheese on a round of zucchini. It was delicious! This would actually make a great bite for an appitizer! |
Step 12: Repeat layers (Sauce, zucchini, ricotta,
sausage, cheese)

Step 13: Top with more sauce and cheese

Step 14: Bake at 350 for 15-20 minutes,
or until cheese is browned and bubbly
Step 15: Let stand for 10 minutes
Step
16: GENTLY pour off any excess liquid that may arise
 |
| TA-DAA!! |
Step 17: DEVOUR!!!
(Sorry ... Didn't have a picture of me eating it. It went too fast!)
Don't forget that you can make up a batch of several of these and store them in the freezer! Let them cool completely, pour off the liquid, wrap in plastic wrap and chill overnight. The next day, put them in plastic storage bags labeled and dated, then stick them in the freezer for up to 6 months! When you're ready to cook them, take them out of the bag and let them sit on the counter (still wrapped in plastic!) for an hour or so. Then unwrap and bake as directed above (add about 10 minutes to the cooking time!)
No comments:
Post a Comment